Do you ever wonder how long to boil corn on the cob and how to cook it for a truly sweet, juicy, and irresistible summer treat? I want to share the family recipe I grew up with – a quick and easy method that makes the best boiled corn on the cob I’ve ever tried. The real beauty here is that, in just 10 minutes, you can enjoy perfectly cooked corn on the cob not only in summer, but any time of the year.
I think many of us have at least one childhood memory tied to corn on the cob. For me, it’s standing in the kitchen, impatiently waiting for it to be lifted straight out of the pot and cool just enough to eat. Still too hot to hold properly, but impossible to leave alone. You’d take a bite anyway, knowing it might burn a little, because the smell alone made waiting feel unbearable.
In my family, that didn’t stop when summer ended. We froze fresh corn, and when it was boiled later on, it still came out surprisingly sweet and juicy. Those small tricks were passed down to me – and they’re the reason this recipe can be made well beyond corn season.
If you enjoy simple recipes like this one, you might also like my roasted cauliflower, roasted potatoes, green beans Almondine or butternut squash soup. Both pair well with many mains and fit easily into real life.
Why I Love This Boiled Corn on the Cob Recipe
There are different ways to cook corn on the cob, but this is the one I keep coming back to. Here’s why this recipe is so special to me and hopefully it will be for you, too.
- I love how quick and easy this recipe is. Hard to find a dish that cooks faster than this one, about 10 minutes from start to finish.
- It’s accessible and affordable in peak season. When corn is everywhere, you can grab as much as you want without stretching the budget.
- This recipe works all year round. Kernels stay sweet and juicy whether you’re using fresh cobs in summer or frozen ones when fresh corn isn’t available.
- I like that this recipe built around minimal ingredients, which makes it easy to keep on hand.
- It’s extremely adaptable. You can keep it simple or add toppings based on what’s in your pantry, and I’ll share some of my favorite variations later on.
- It’s healthy by nature and suitable for vegetarian and gluten-free diets.
With all that in mind, it’s easy to see why this recipe has become a favorite of mine. Let’s have a look at what you’ll need – the list is refreshingly short.
Boiled Corn on the Cob Ingredients
This recipe needs surprisingly little to work. Fresh corn requires nothing beyond the cobs themselves, and only when older or frozen corn is used does it call for a second ingredient. Here’s a closer look at what you need to make it happen.
Corn on the Cob
Corn on the cob is really what this recipe is about, so freshness matters more than anything else. Corn doesn’t hold its sweetness forever, which is why truly fresh cobs always taste better and juicier.
When buying fresh corn, I usually look at the husks first – they should be bright green and tightly wrapped, not dry or yellowing. The silk should be pale and slightly sticky, and the cob should feel plump and firm when you press it through the husk, not light or uneven. If something feels off, it usually is.
If I’m not cooking the cobs right away, I store them in the fridge with the husks still on. This helps slow moisture loss and keeps the kernels from drying out. They taste best when used within a couple of days.
When corn is in peak season and especially good, it’s worth freezing a few cobs to enjoy later. In my family, we simply remove the husks and silk, then freeze the cobs in a a freezer-safe bag as they are. Stored this way, corn on the cob keeps well for several months and is easy to use whenever fresh one isn’t available.
Sugar
Sugar is optional in this recipe. When corn is truly fresh, it doesn’t need any help, so I skip it entirely. As corn ages or spends time in the freezer, some of its natural sweetness fades. In those cases, a small amount of sugar helps bring that sweetness back without making it taste sugary. It’s a small trick, but one my family has relied on for years to enjoy corn long after the harvest.
These are all the ingredients you need for this recipe. Everything else is optional and comes down to toppings, depending on what you like, and I’ll share some of my favorites later in the post. But first, let’s talk about how long to boil corn on the cob and how to do it right.
Tips for the Best Boiled Corn on the Cob
Perfect corn on the cob isn’t about doing more – it’s about knowing a few small things that are easy to miss. These are the simple tricks that make the process easier and more reliable.
How to Husk Corn
There’s more than one way to clean corn, and different methods work better depending on how many cobs you’re dealing with and how thorough you want to be. These are the options I’ve found most effective over the years.
- The classic hand method is the one I use most often. Peel away the husks, then remove as much silk as you can by hand. If a few fine threads are left behind, a quick rinse under cold running water while gently rubbing the kernels helps wash them away.
- For stubborn silk or larger batches, a soft vegetable brush can be effective. Just use light pressure – remember, you’re brushing away silk, not scrubbing potatoes.
- Another option is the microwave method. Leaving the husks on, microwave the corn briefly, then cut off the stem end and slide the cob out – the silk comes off with the husk. This works well, but it’s best when you’re cleaning just a few cobs and plan to use them right away.
Whichever method you choose, there’s no need to soak the corn. As long as the husks and silk are removed, the cobs are ready to cook.
How to Cook Corn on the Cob
Cooking corn on the cob is simple, but a few small details really matter. I start with a large pot of water, enough to fully submerge the ears, and add them only once the water is at a full boil. That way, the corn heats through quickly instead of slowly warming up, which helps keep the kernels juicy rather than dull.
I also avoid salting the water. Salt can toughen the skins of the kernels, especially when the corn isn’t very fresh. Seasoning works much better after cooking, when the corn is hot and ready for butter or toppings.
In cases where sugar is used – something we already covered in the ingredients section – it goes into the water before the ears. It helps restore the corn’s natural sweetness, rather than turning it sugary.
Once the earls go into the boiling water, everything comes down to how long to boil corn on the cob and when to take it out.
How Long to Boil Corn on the Cob
Corn on the cob doesn’t need much time in boiling water. The key is adjusting the timing based on how fresh the corn is, so it stays sweet and juicy rather than overcooked. Here’s a simple guide I follow:
- Very fresh corn – about 3 minutes
- Regular supermarket corn – around 4 minutes
- Older corn – closer to 5 minutes
- Frozen corn on the cob – up to 7 minutes
I usually check doneness by piercing a kernel gently with a fork or knife. It should be tender and release a bit of milky juice, not feel mushy or look chalky. Once it’s there, take it out straight away and serve with your favorite topping.
Corn on the Cob Variations
Boiled corn on the cob is great on its own, but toppings are where you can really make it your own. These are some of my favorite ways to dress it up.
Classic Corn on the Cob
Sometimes, nothing beats the classic. A piece of butter placed right on top of the hot corn, or brushed on once it’s melted, then finished with a sprinkle of salt. That’s often all it needs. Every now and then, I like to take it just a step further with a crack of black pepper on top – still simple, just a touch bolder.
Garlic Butter Corn on the Cob
This version is always a crowd-pleaser. I melt the butter and stir in finely grated garlic, letting it warm just until fragrant, not browned. When fresh garlic feels too strong or heavy, garlic powder works really well here instead. Brush it over the hot corn and finish with a pinch of salt.
Herb Butter Corn on the Cob
This is the one I reach for when I want something fresh and not too heavy. Soft butter mixed with finely chopped herbs like parsley, dill, chives, or cilantro is all it takes. Brush it over the hot corn so the butter melts into the kernels, then add a pinch of salt. It keeps the corn front and center, just with a fresher, more garden-like flavor.
Mexican-Style Corn on the Cob
For a bolder take, brush the hot corn with butter, sprinkle with chili powder or smoked paprika, then finish with a squeeze of lime and a little Cotija or Parmesan cheese. Add some chopped cilantro if you have it. It’s vibrant, a little messy, and very hard to stop eating.
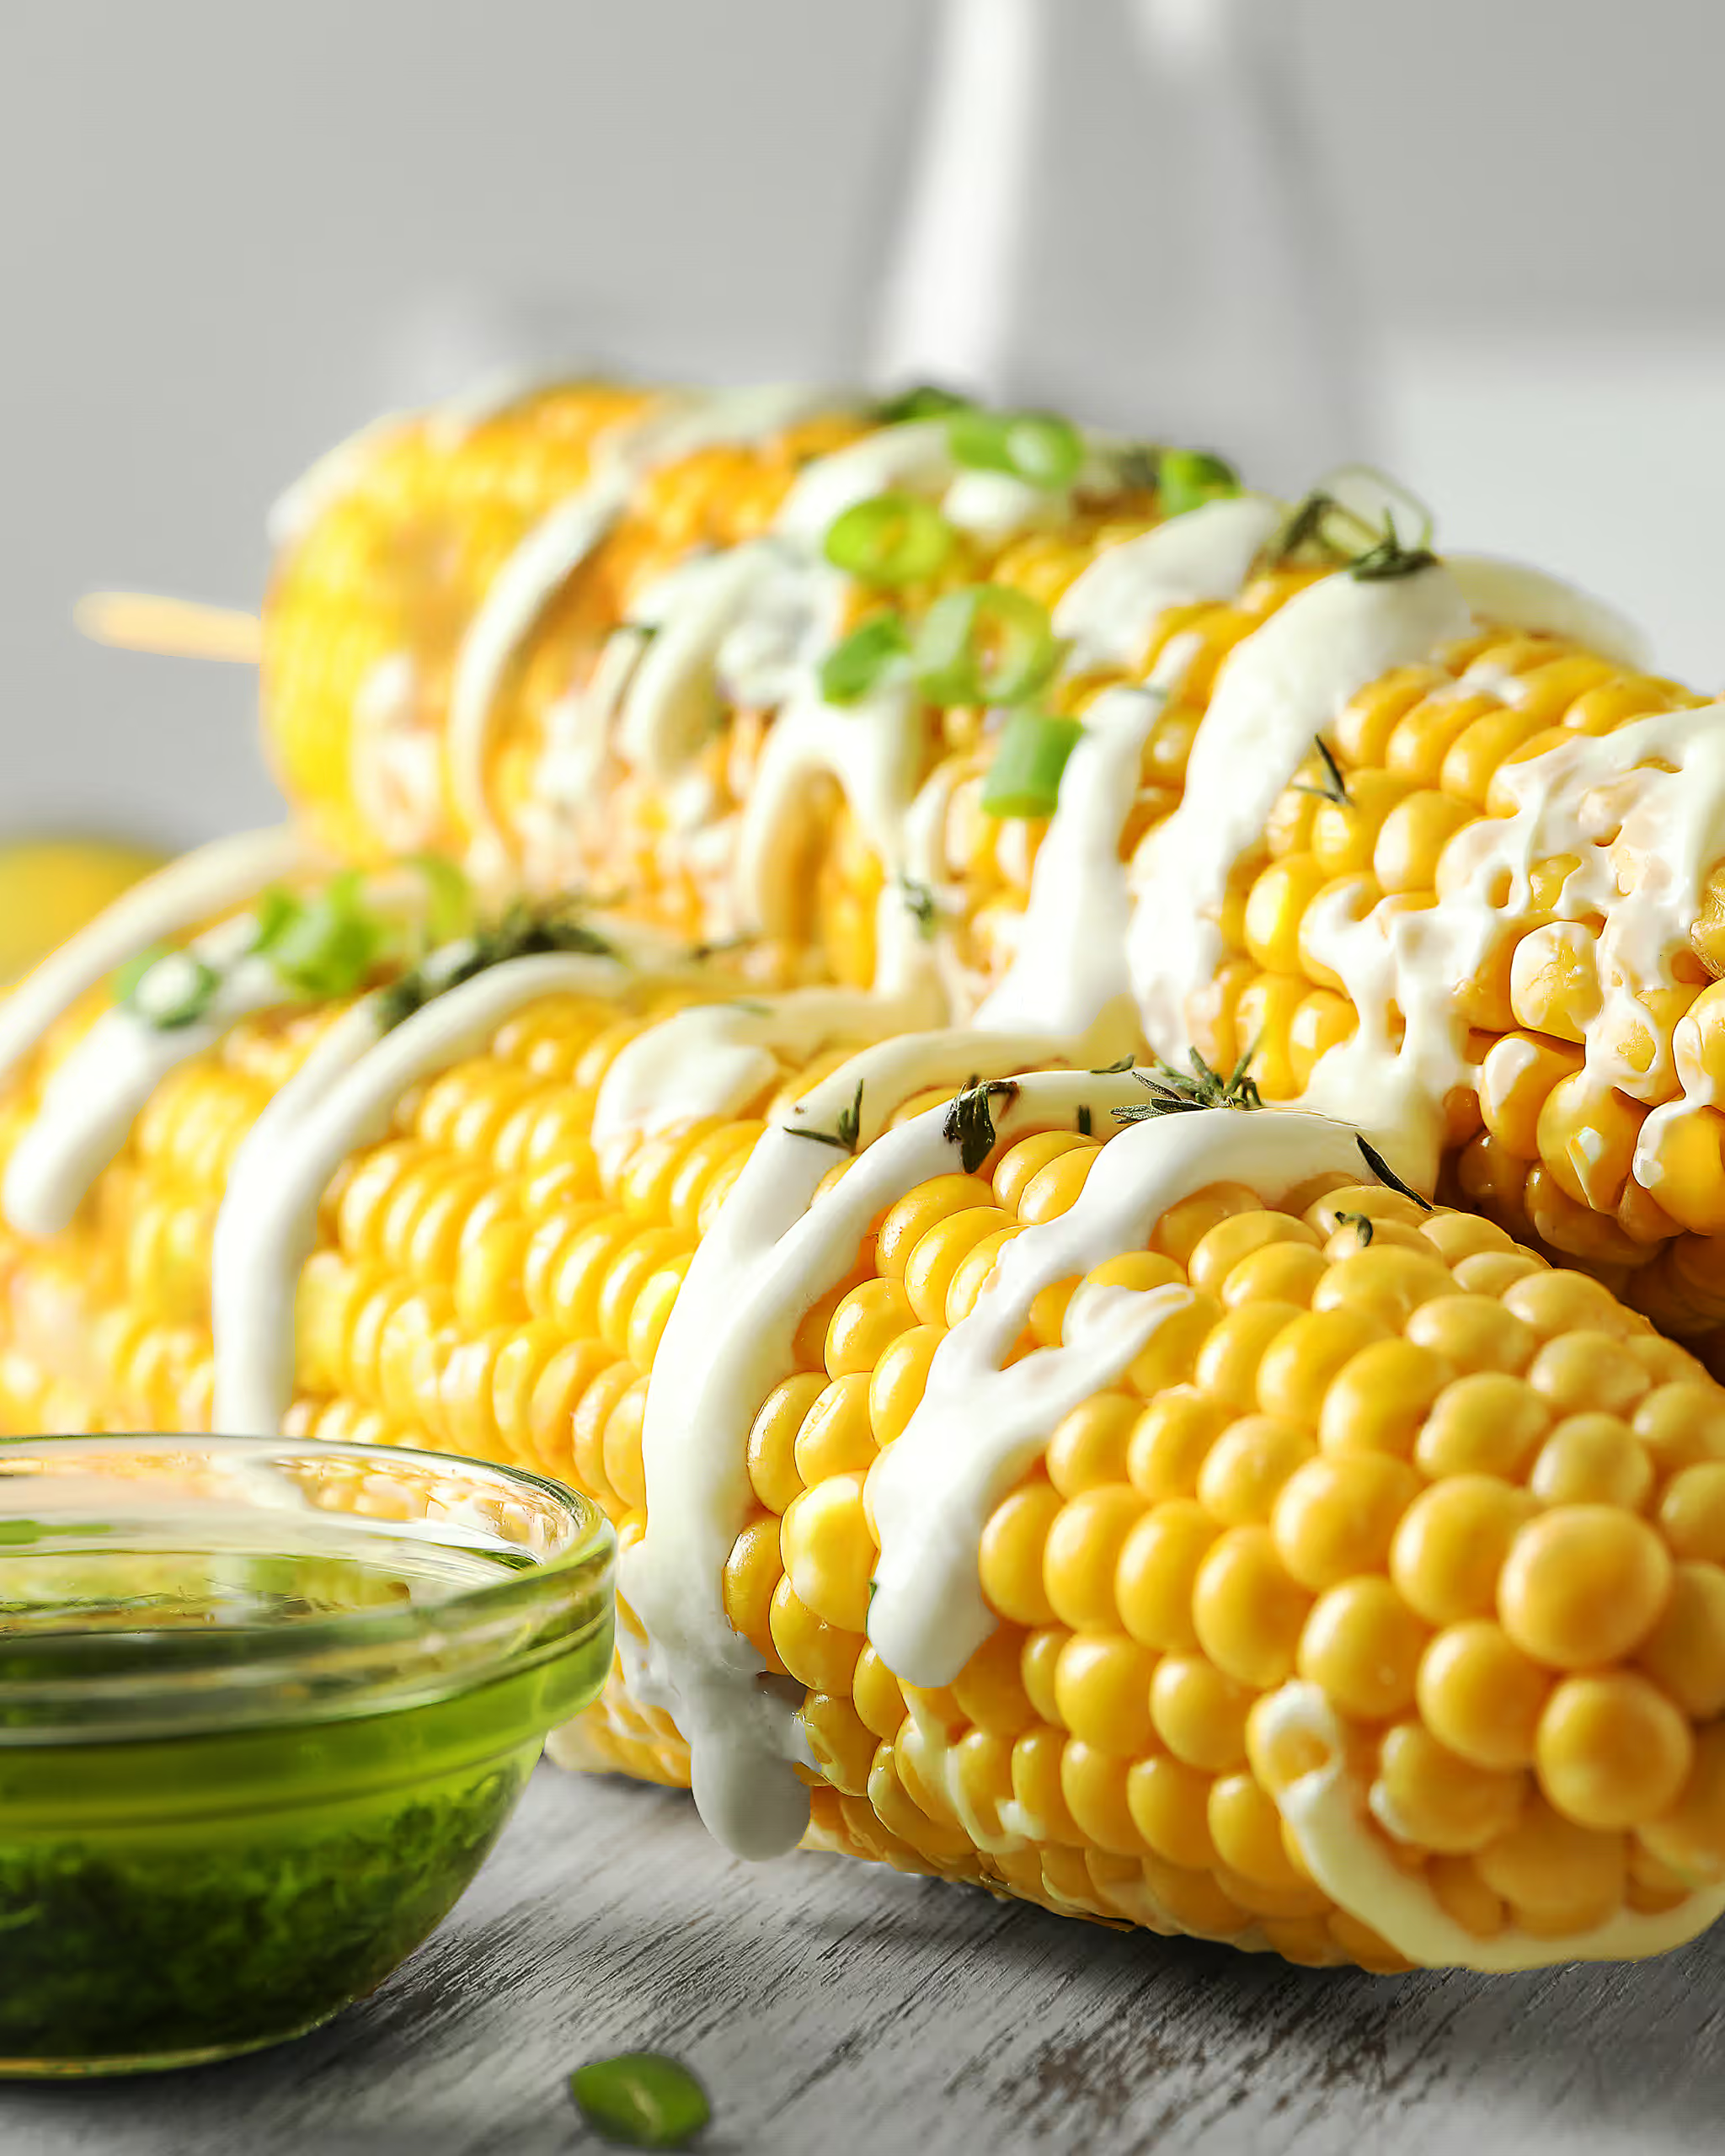
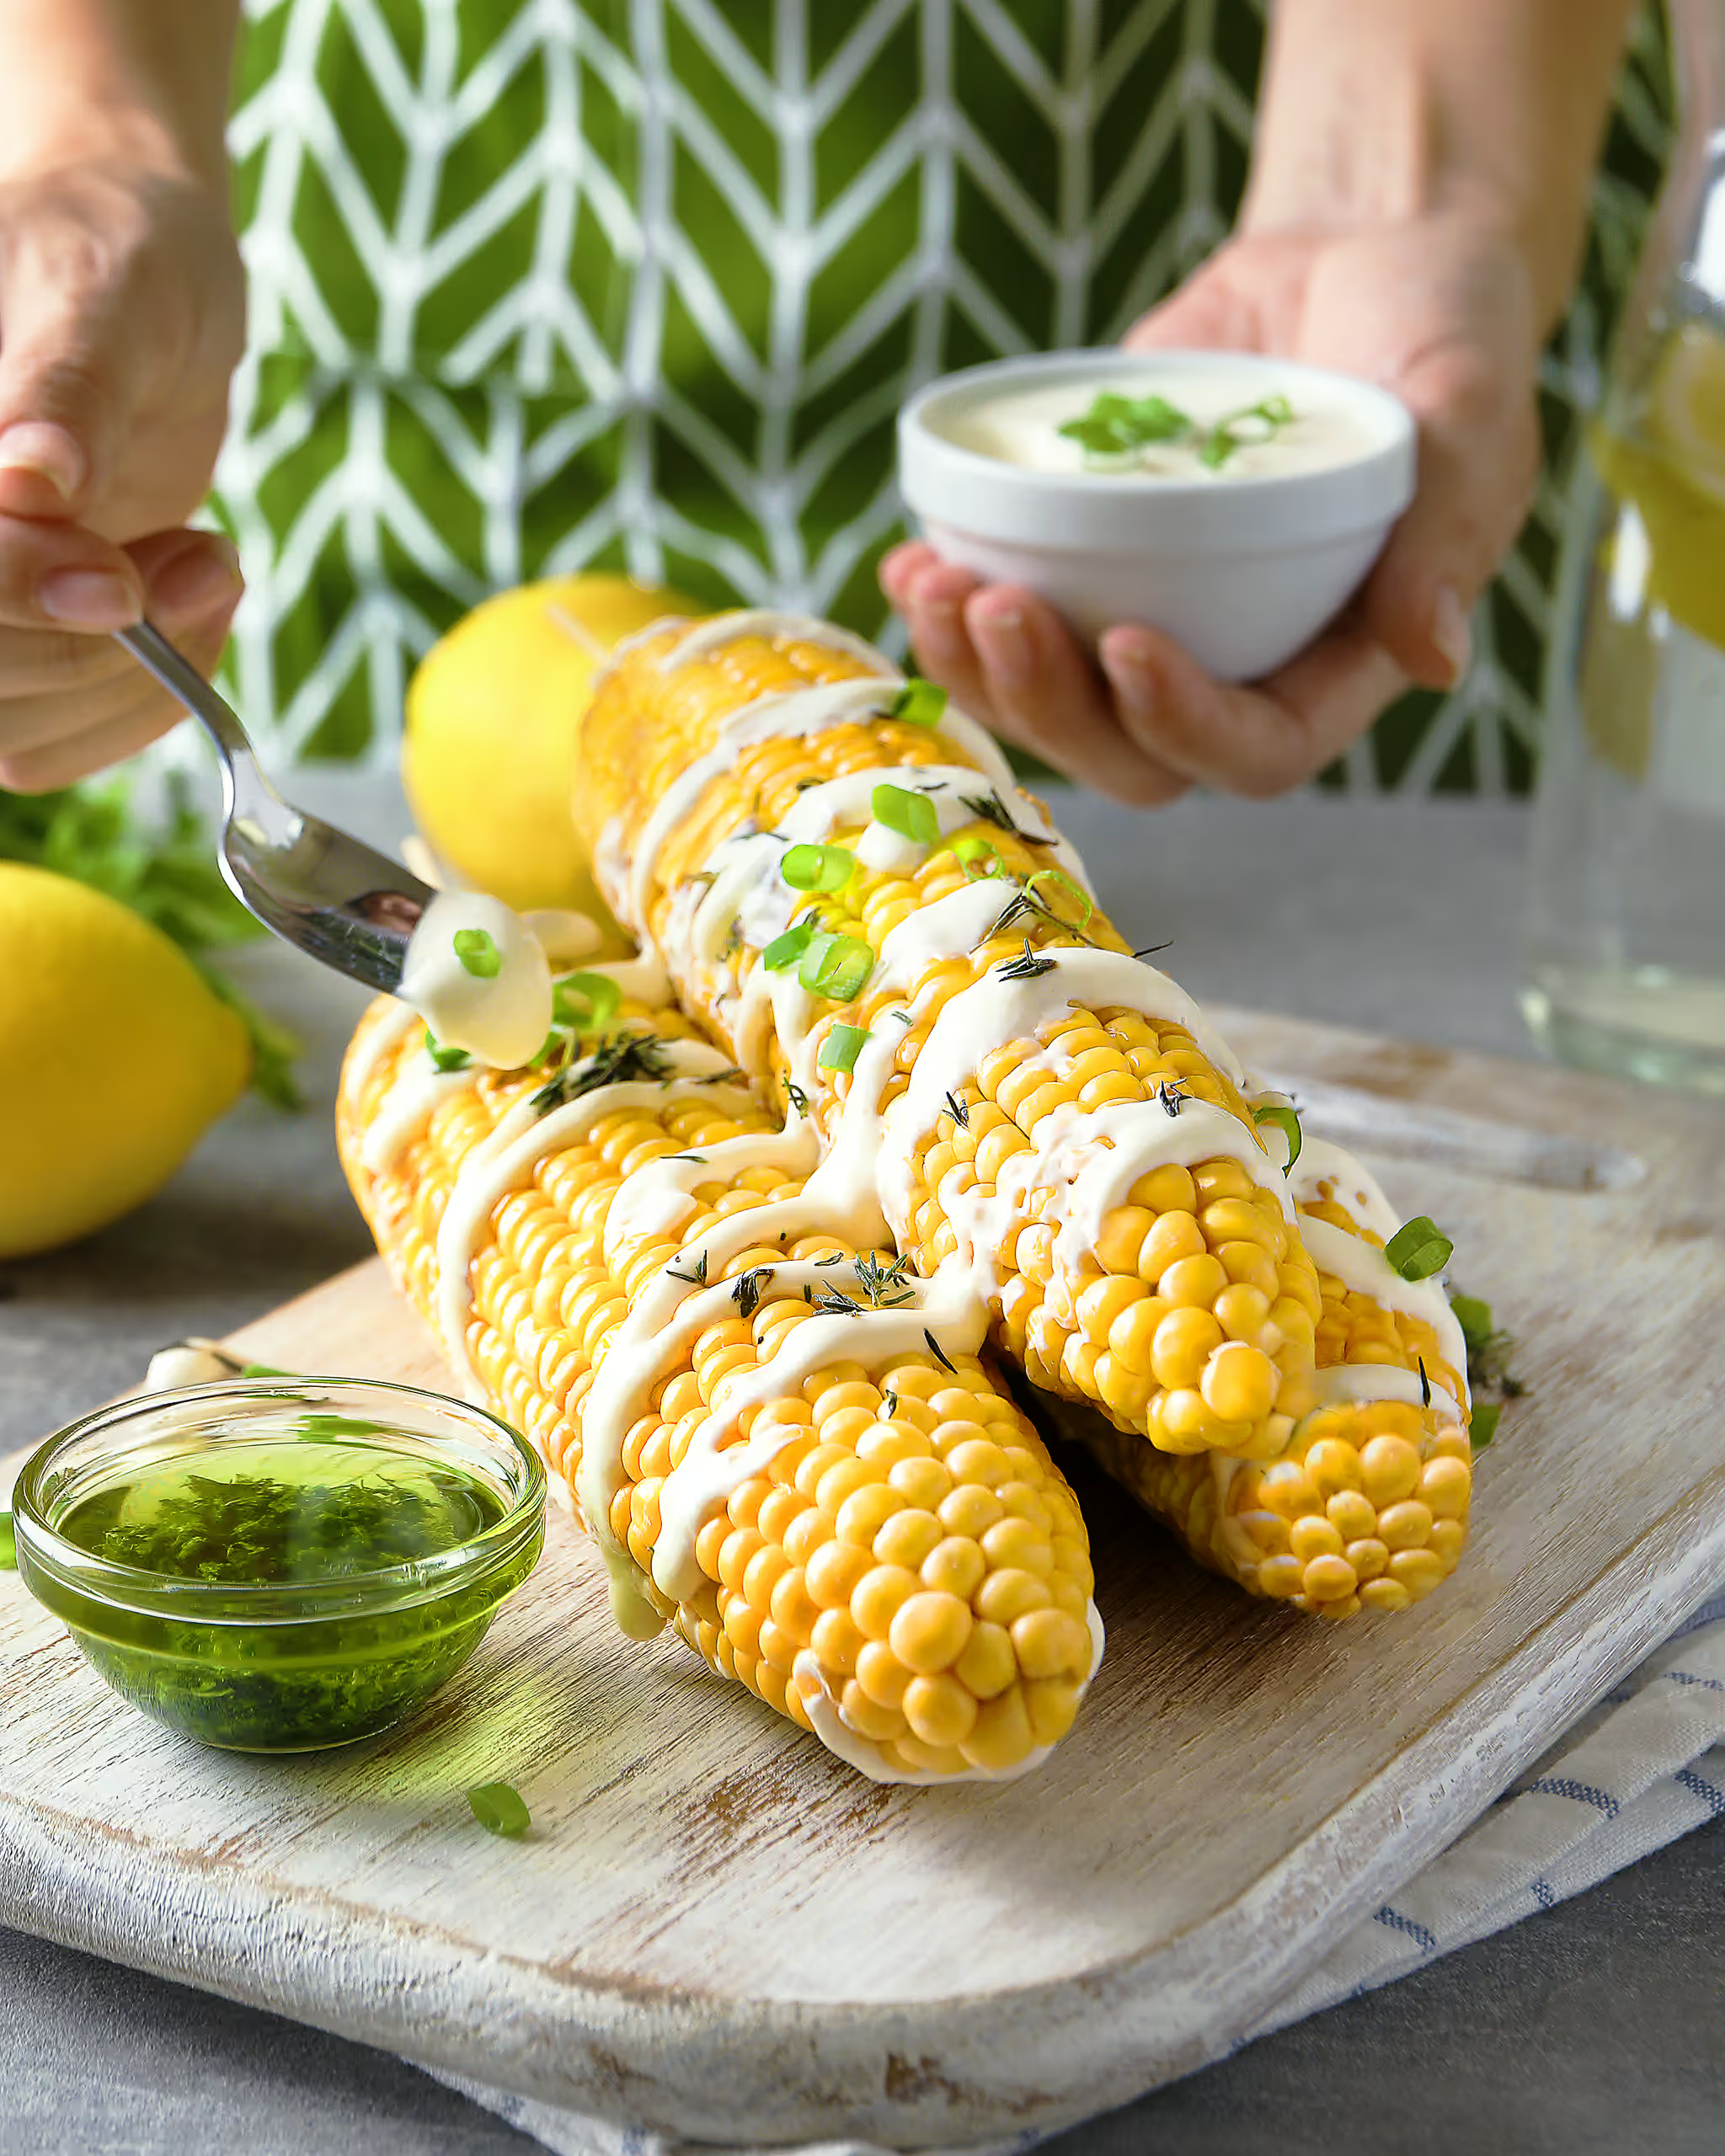
Boiled Corn on the Cob with Creamy Garlic Sauce
This version feels a bit more indulgent, but still easy enough to pull together without much effort. I mix mayonnaise with Greek yogurt or sour cream to keep the sauce creamy but not heavy, add lemon juice for freshness and grated garlic for bite. Season it lightly with salt and spoon the sauce over hot corn.
That’s the beauty of boiled corn on the cob – there’s no single right way to enjoy it. I’d love to hear which variation you liked most, or see your own twist in the comments below.
Boiled Corn on the Cob Serving Ideas
Boiled corn on the cob is flexible enough to work in more than one role, depending on how you serve it.
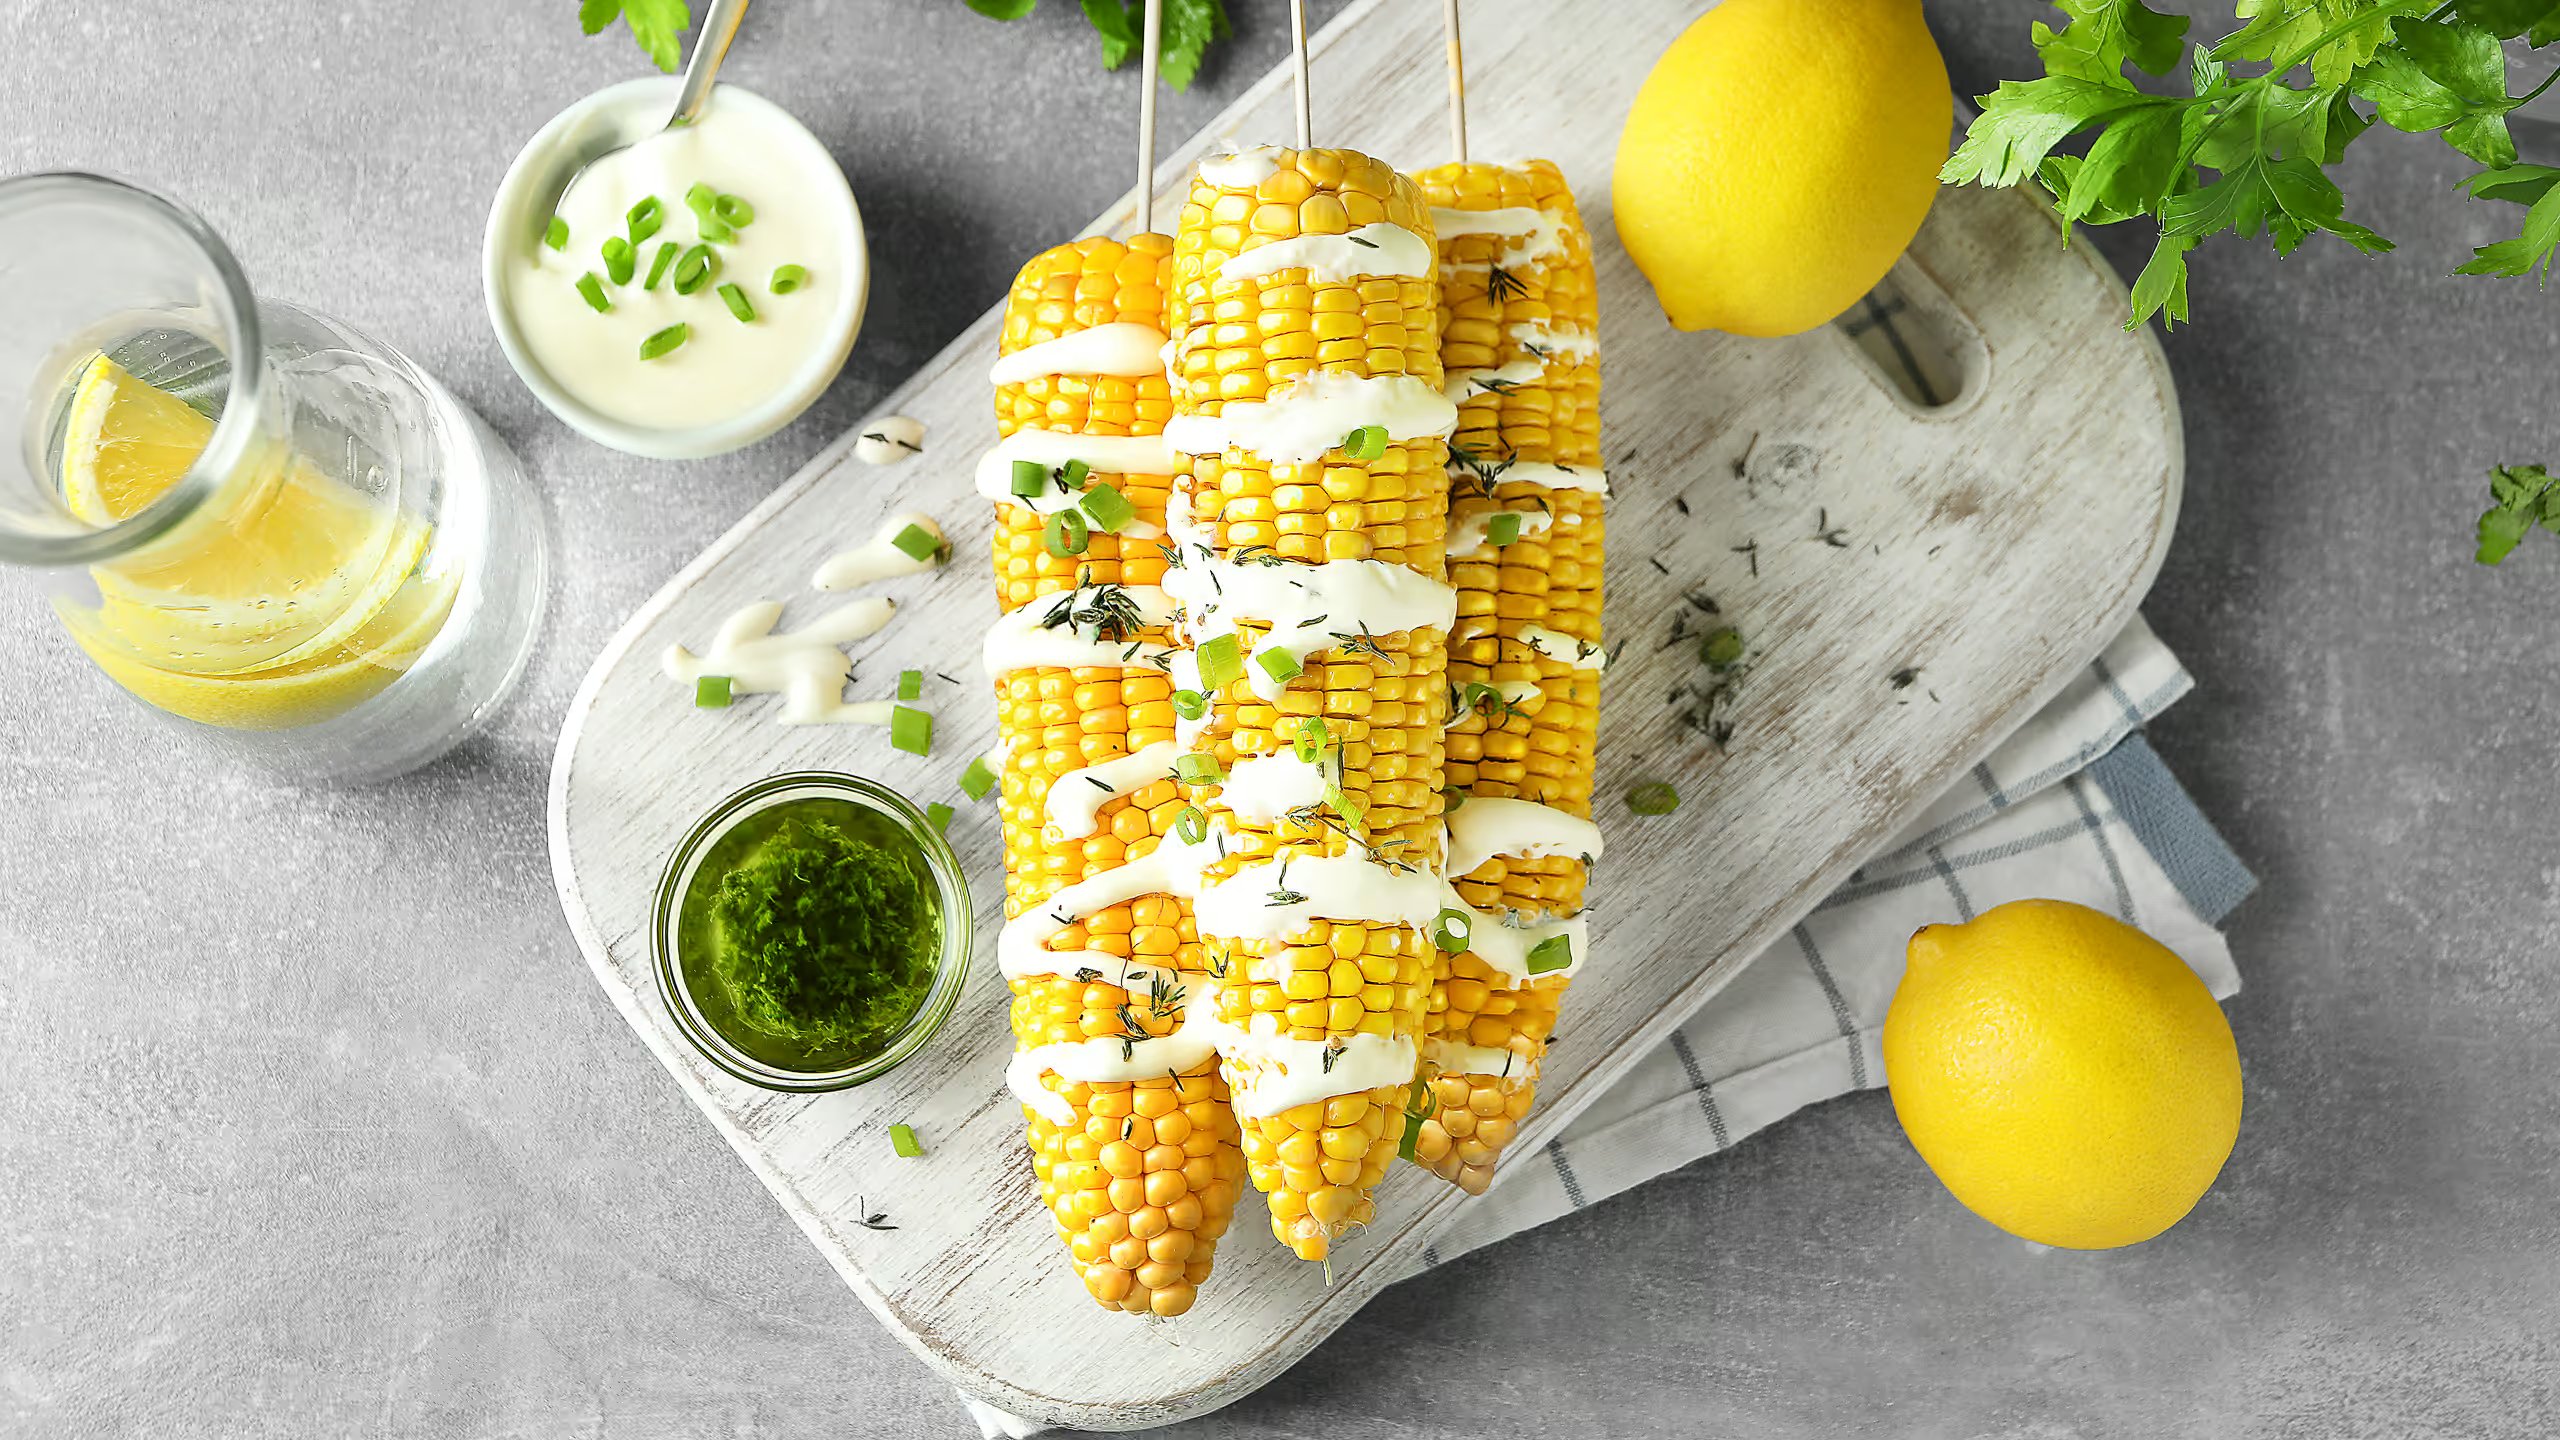
On its own, it makes a great snack or casual appetizer. One simple trick I like is sliding each cob onto a wooden skewer before serving. It makes freshly cooked corn easier to handle, protect your hands from the heat and make buttering less messy, since the butter stays on the kernels instead of your fingers.
It also works really well as a side dish. In that case, I usually cut the cobs into smaller chunks before serving. They’re easier to plate and eat alongside a main.
Best Pairing for Corn on the Cob
What I like about boiled corn on the cob is how easygoing it is, which makes it a great match for many meals. Its natural sweetness pairs especially well with simple, savory dishes.
I most often serve it with grilled or roasted meats – chicken, steak, sausages, or pork. When I need dinner to be as quick and easy as possible, my go-to is baked chicken drumsticks, which pair perfectly and take about 15 minutes of prep. It also works nicely with fish or seafood, especially when served with lighter toppings like herb butter or lemon.
For meatless meals, corn on the cob works well next to vegetable-based mains, grain bowls, or hearty salads. It’s also a natural fit for casual meals with burgers and sandwiches.
Storing & Reheating Leftovers
Let’s be honest, boiled corn on the cob is best when eaten fresh and hot. But if you have leftover, let it cool, then store it in an airtight container in the fridge for up to five days.
To reheat, warm the corn gently. A quick warm-up in hot water or a short burst in the microwave is all it needs. I often add a little butter before reheating – it helps keep the corn from drying out.
One of my favorite things about leftover corn is how easy it is to reuse – just cut it off the cob and add it to salads or simple meals, cold or lightly warmed. No one ever guesses it started out as leftovers.

Boiled Corn on the Cob
Equipment
- Large Pot
- Tongs
- Microplane
Ingredients
Classic Corn on the Cob
- Corn on the Cob 4 ears
- Sugar (optional if using older or frozen corn) 2 tsp
- Butter 2 tbsp
- Salt ½ tsp
- Black Pepper (optional) ⅛ tsp
Creamy Garlic Sauce
- Mayonnaise 3 tbsp
- Greek Yogurt (or sour cream) 3 tbsp
- Garlic (grated) 1 clove
- Lemon Juice 1 tbsp
- Salt ⅓ tsp
Instructions
- Remove the husks from the corn ears and pull away all the silk.
- Bring a large pot of water to a full rolling boil. If using older or frozen corn, add the sugar to the water at this stage. Add the corn, making sure it’s fully submerged, cover, and return to a boil.
- Lower the heat slightly so the water stays at a steady boil. Cook the corn for 3-7 minutes, depending on how fresh it is. See Note below for exact timing.
- If making the creamy garlic sauce, whisk all the sauce ingredients together while the corn cooks. Skip this step for the classic version.
- Pierce a kernel gently – it should be tender and release a little milky juice. Once ready, remove the corn immediately and transfer to a serving platter.
- Top the hot corn with butter and a sprinkle of salt. Serve it classic, add the creamy garlic sauce, or finish with any of the variations shared earlier in the post.
Notes
- Very fresh corn: 3 minutes
- Typical supermarket corn: 4 minutes
- Older corn: 5 minutes
- Frozen corn: 7 minutes
Nutrition Information
Keywords:
Quick and EasyShare with Friends
Good food is better when shared. It also helps us create more recipes for you.
Frequently Asked Questions
How long to Cook corn on the cob?
Corn on the cob cooks quickly, taking 3-7 mins in boiling water: 3 mins for very fresh corn, 4 mins for supermarket corn, 5 mins for older cobs, and up to 7 mins if frozen.
How to boil corn on the cob?
To boil corn on the cob, bring water to a full boil, add the husked corn, return to a boil, and cook for 3-7 minutes depending on freshness. Remove when tender and juicy, season after cooking.
Do you add corn on the cob to boiling water?
Yes. Adding corn on the cob to fully boiling water helps it heat quickly, cook evenly, and stay sweet and juicy rather than starchy or mushy.
Should I salt the water when boiling corn?
No, salting the water can toughen the kernels. For tender, juicy corn, it’s better to season the corn with salt and add your favorite toppings after it comes out of the water.
Does adding sugar to the water make corn sweeter?
Yes, a small amount of sugar in the boiling water can enhance corn’s natural sweetness without making it taste sugary. This works especially well with older or frozen corn.
How to tell when corn is fully boiled?
Corn is fully boiled when the kernels are tender and release a little milky juice when pierced with a fork or knife. It should taste sweet, not chalky or mushy.
What are common mistakes when boiling corn?
Common mistakes when boiling corn on the cob include overboiling, starting in cold water, salting the water, and leaving it in hot water too long, which can affect sweetness and texture.
How to pick the best sweet corn on the cob?
For the sweetest corn, choose cobs with bright green, tightly wrapped husks, golden sticky silk, and kernels that feel firm and plump. Avoid corn with dry husks or dark silk.
What’s the best way to cook corn?
The best way to cook corn on the cob depends on your preference, but boiling is one of the most popular methods. It’s quick, easy, and keeps the corn sweet and juicy when cooked briefly.
What’s the best way to store fresh corn on the cob?
The best way to store fresh corn is in the fridge with the husks on. The husks act as a natural barrier, helping retain moisture and slow the loss of sweetness.
How long can corn on the cob stay in the fridge?
Fresh corn on the cob keeps best in the fridge for a couple of days when left unhusked. If you won’t use it within that time, freezing it is the better option.
How to freeze corn on the cob?
To freeze corn on the cob, remove the husks and silk, then place the whole cobs in freezer-safe bags. Freeze as is and use within a few months for best quality.
How to cook frozen corn on the cob?
To cook frozen corn on the cob, add it straight to boiling water and skip thawing for the best texture. Boil for about 7 minutes, then remove once the kernels are tender and bright yellow.