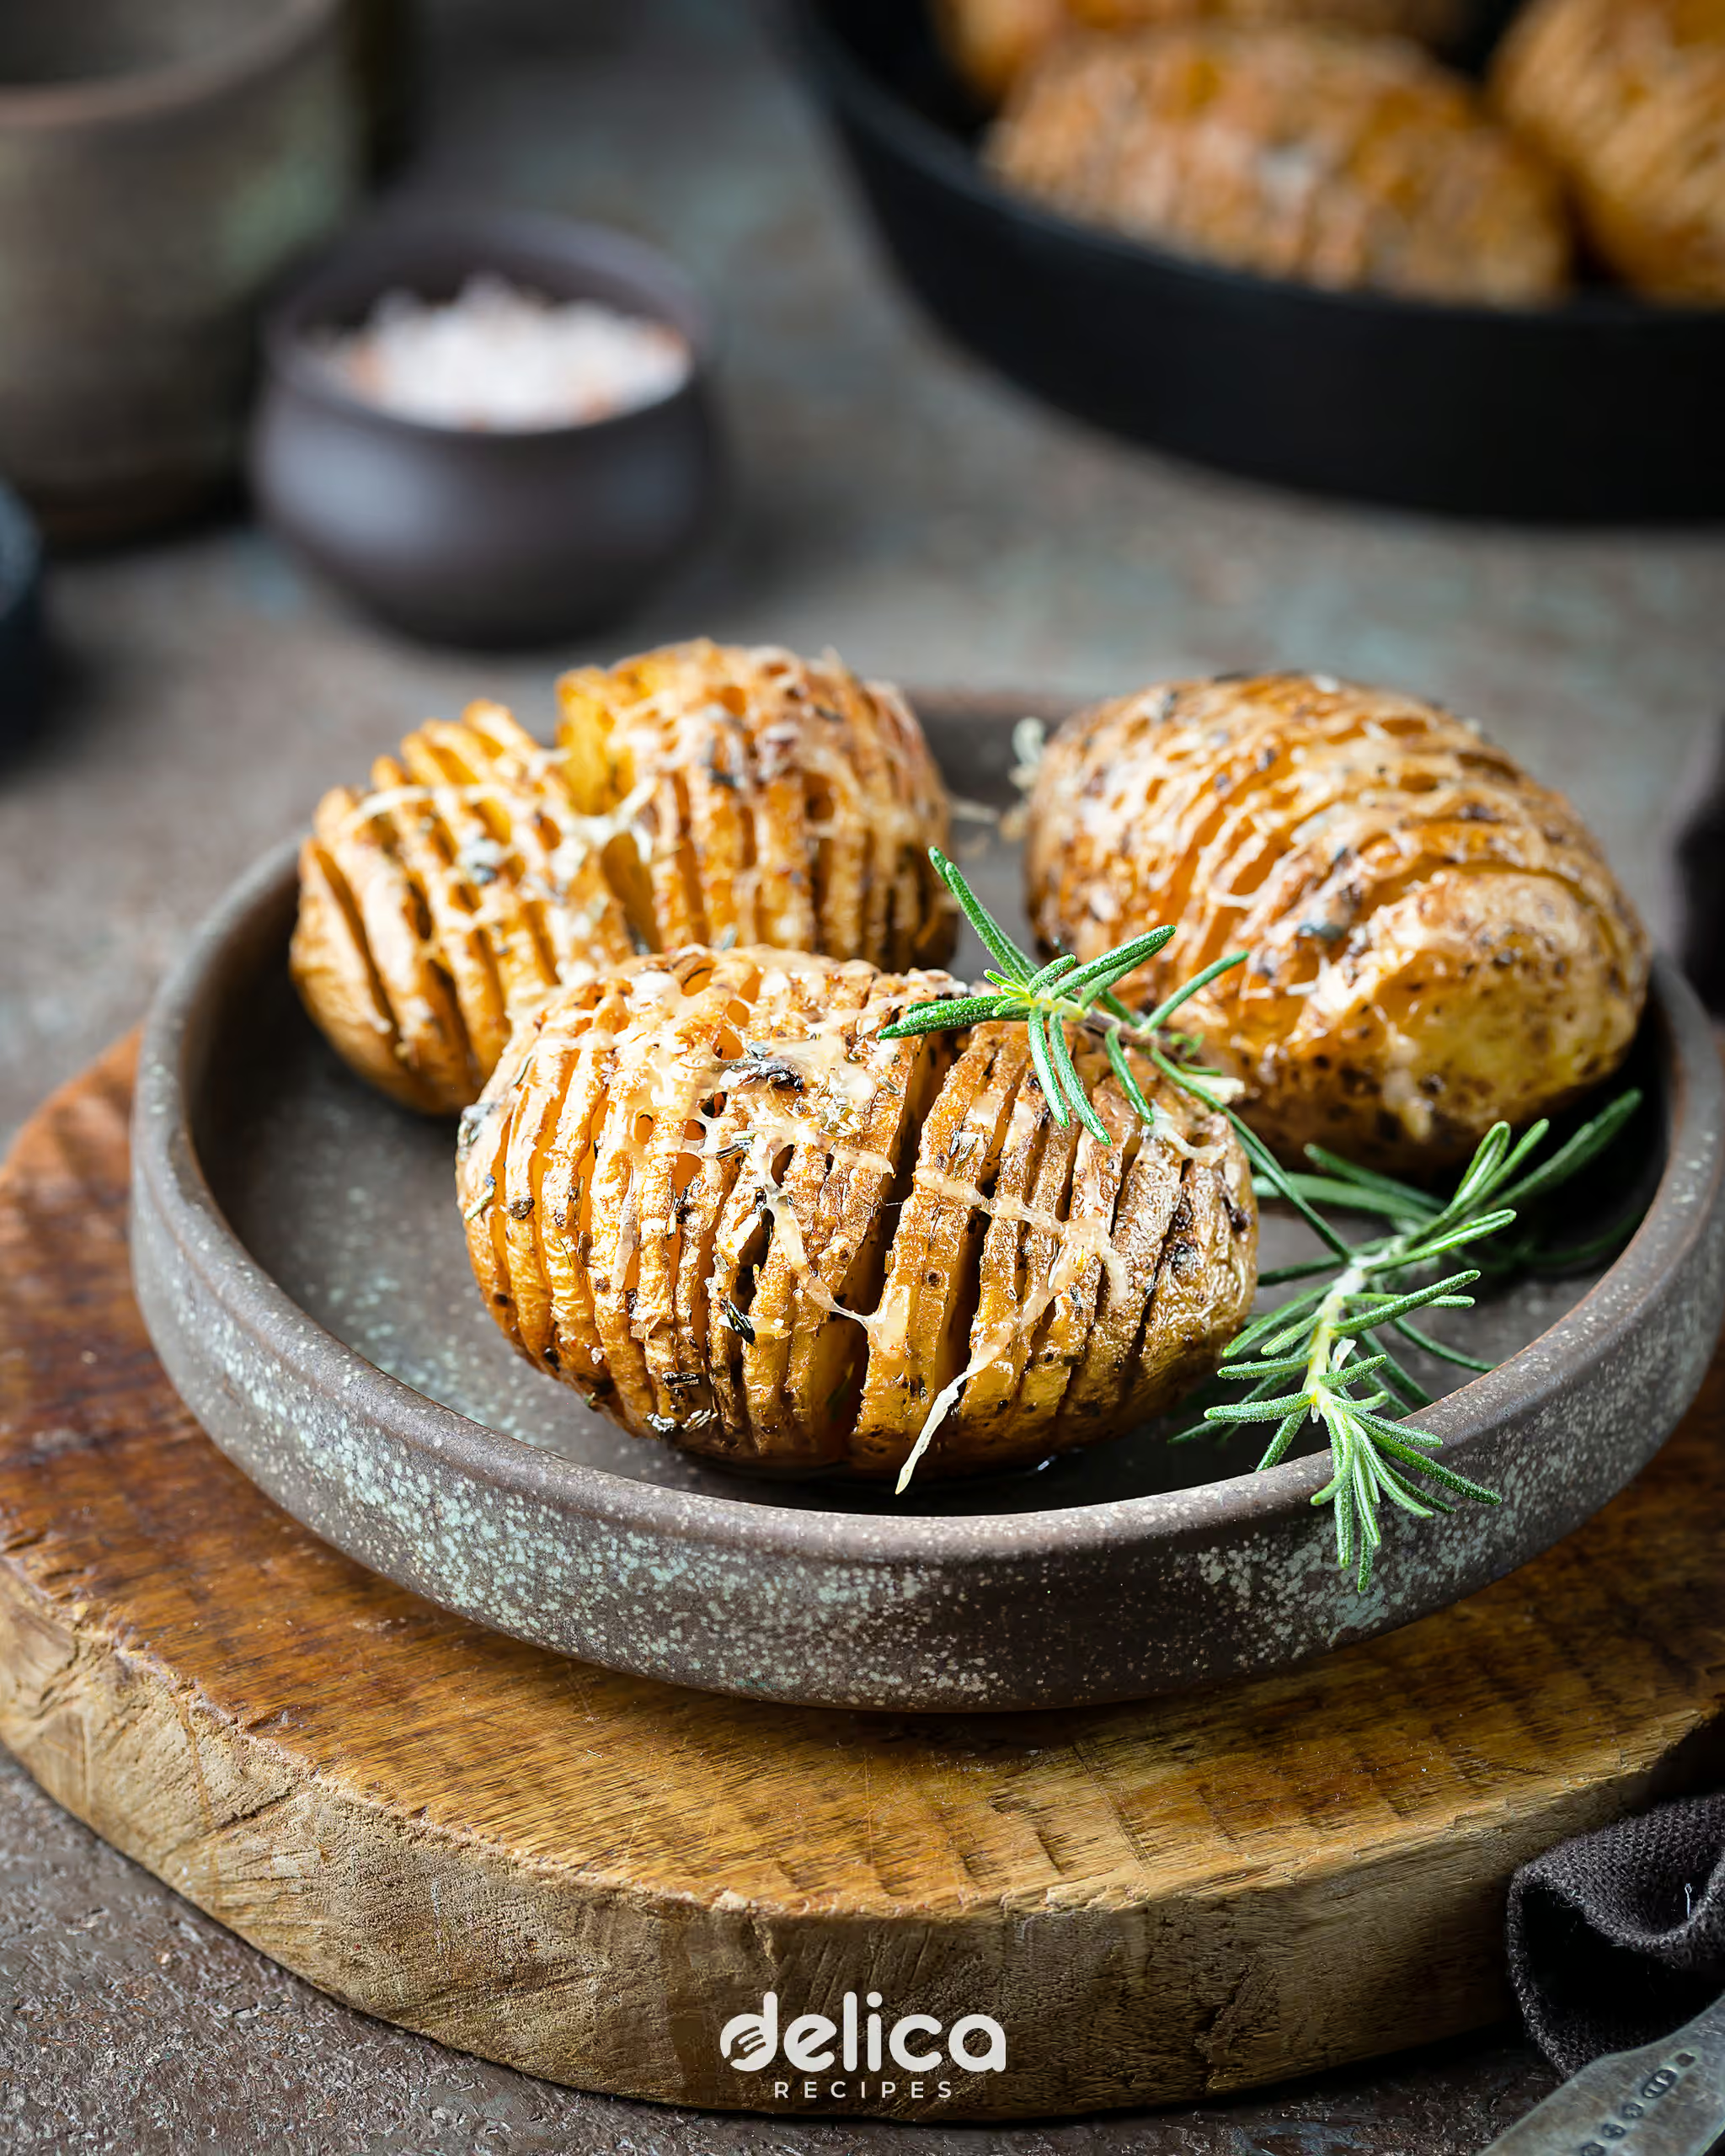
Hasselback potatoes are the kind of side dish that looks like it came straight off a fancy restaurant, but they’re not much harder to make than a regular baked potato. And the real magic isn’t even in how stunning those perfectly fanned slices look on the table – it’s in how they taste. Crispy edges, tender center, buttery layers that soak up every bit of seasoning. Fries, mashed, baked – all in one bite.
I’ll be honest, developing this recipe took a lot of testing, because most hasselback potatoes recipes stop at the slicing – but it’s only half of the story. The real difference happens when the slices open up properly, the fat gets between those layers. That’s what gives you those crispy, almost chip-like edges without drying out the middle. Yes, the chopstick slicing trick helps – but fanning and basting deserve just as much credit, and I’m sharing everything I learned along the way in this post.
If reading this has you hungry for more, my crispy hash browns, roasted potatoes, and potato salad each give the same humble spuds a completely different personality. But when I want a potato side dish that feels a little more dressed up without losing that real comfort food feel, this is the one I come back to.
What Are Hasselback Potatoes?
If you’ve ever seen a baked potato that somehow turned into a fan of thin, crispy-edged slices – that’s a hasselback potato. Each one is sliced almost all the way through so it opens up like a little fan in the oven, which is exactly why you’ll also see them called accordion potatoes, fan potatoes, or fanned potatoes. All very dramatic names for one very delicious side dish.
The name itself comes from Hasselbacken (literally “hazel slope” in Swedish), a restaurant on a hazel-tree-covered hillside in Stockholm, Sweden. The dish became popular there in the 1950s and has been showing up on dinner tables around the world ever since. Turns out a trainee chef with a sharp knife and a creative idea can leave quite a legacy.
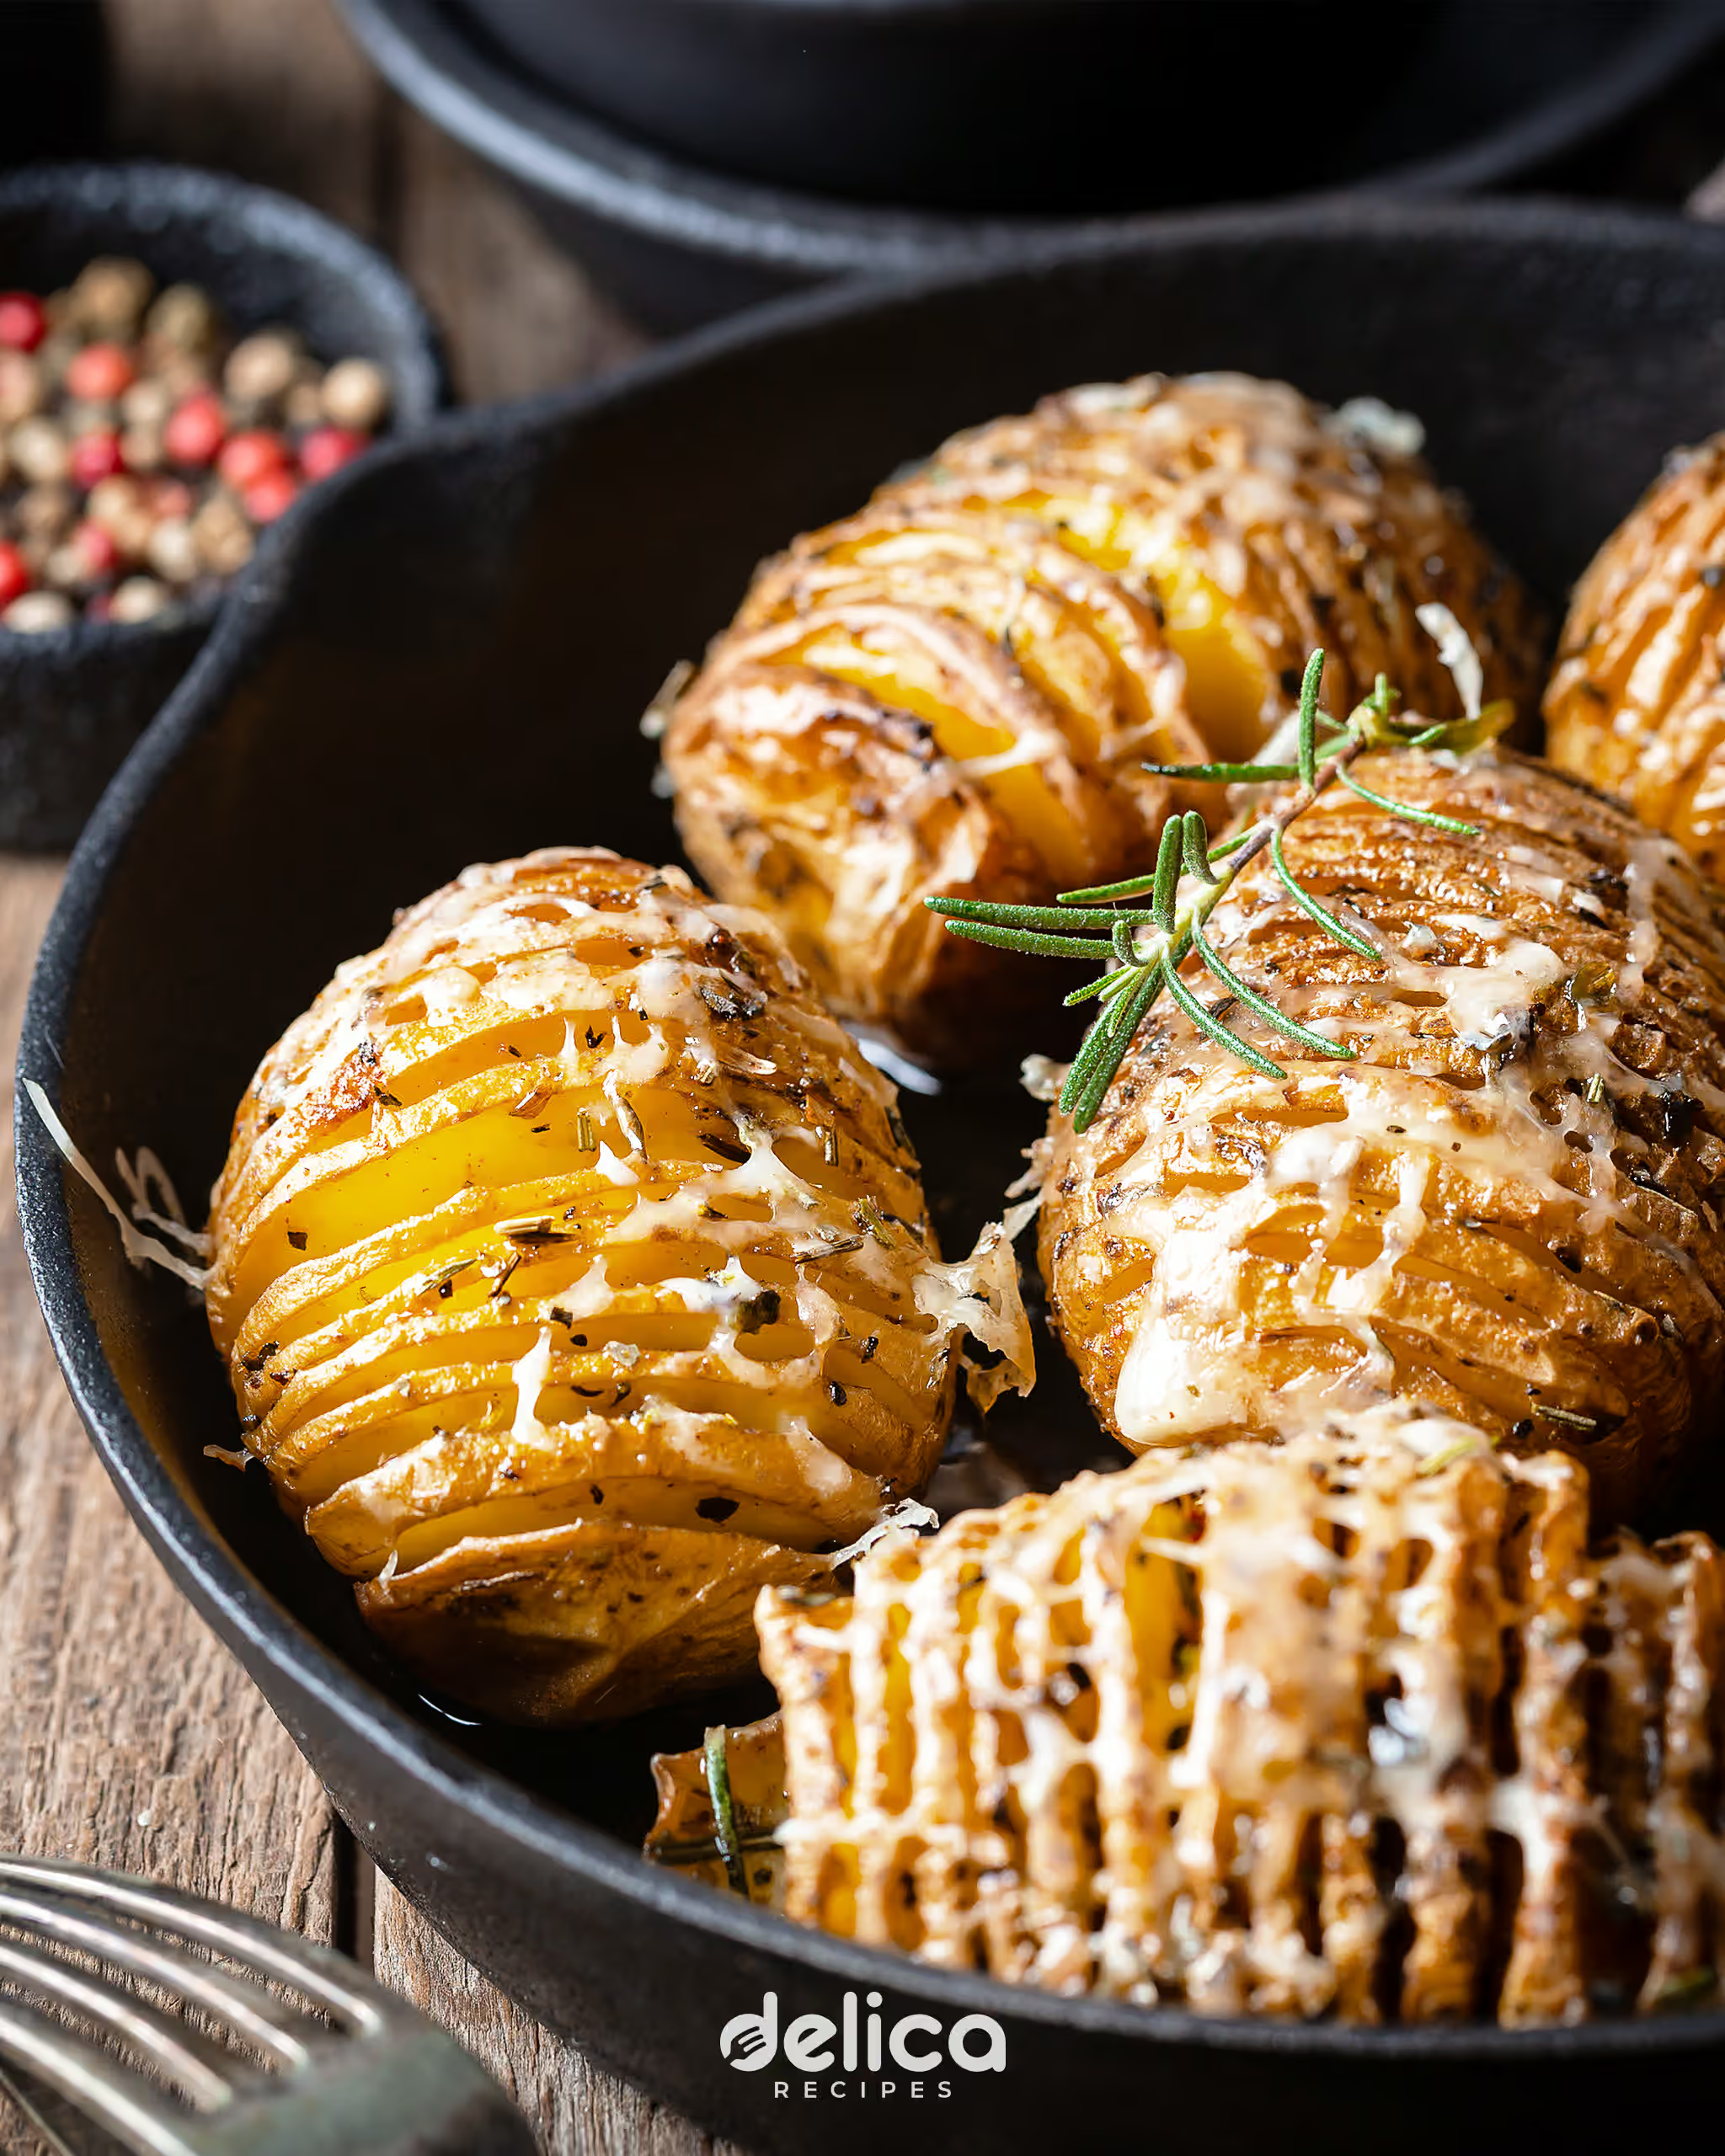
What makes the shape so clever is that all those thin slices create way more surface area for the heat to work on – more crispy edges, more surface for butter and seasoning to cling to, and more even cooking than a whole uncut potato. Something that looks purely decorative is actually doing a lot of delicious work. And that’s exactly what we’re going to take full advantage of in this recipe.
Best Potatoes for Hasselback Potatoes
Choosing the right potato for hasselback comes down to three things – type, size, and shape – and all three matter more than you might think.
When it comes to variety, this recipe is less forgiving than most other potato recipes, simply because the wrong one will either fall apart between the slices or stay stubbornly dense in the middle no matter how long you roast it.
- If you’re in the US, reach for Yukon Gold as your first choice – naturally buttery flesh, thin skin, and an oval shape that makes slicing much easier. Russet is a solid second option, they’re starchier, so the center comes out a little fluffier.
- In the UK or Europe, Maris Piper or King Edward are your best bet.
- Here in Australia, my go-to is Sebago or Desiree – widely available, and they hold their shape well through slicing and roasting without falling apart.
Whatever variety you choose, size matters just as much as type. Medium potatoes are my sweet spot for this recipe – large ones take so long to cook through that the thin edges risk burning. And while there is a mini hasselback potatoes version, I find small potatoes turn tender inside too quickly, before the edges ever get a chance to crisp up.
I also always try to pick ones that are similar in size so everything finishes cooking at the same time – otherwise you end up with some perfectly golden and some still firm in the middle.
And one last thing worth mentioning – look for oval or oblong potatoes rather than round ones. They sit more stably on the skillet or baking sheet and fan out better in the oven, which means more surface area for the butter and seasoning to get between.
With the right potato picked out, the next thing worth getting right is what you’re going to brush all over it.
Hasselback Potatoes Ingredients
What I love about this easy hasselback potatoes recipe is how few ingredients it takes – and how much they can do.
Potatoes – the main ingredient that can make or break this dish, which is exactly why I covered them separately in the section above and won’t repeat myself here.
Fat – I use both olive oil and butter, and I do it on purpose. Butter alone can burn at high oven temperatures before the potatoes are fully cooked through, while olive oil alone doesn’t bring those rich flavor we expect from comfort food. Together they give you the best of both worlds – golden edges, buttery flavor, and enough roasting time to get the inside perfectly tender.
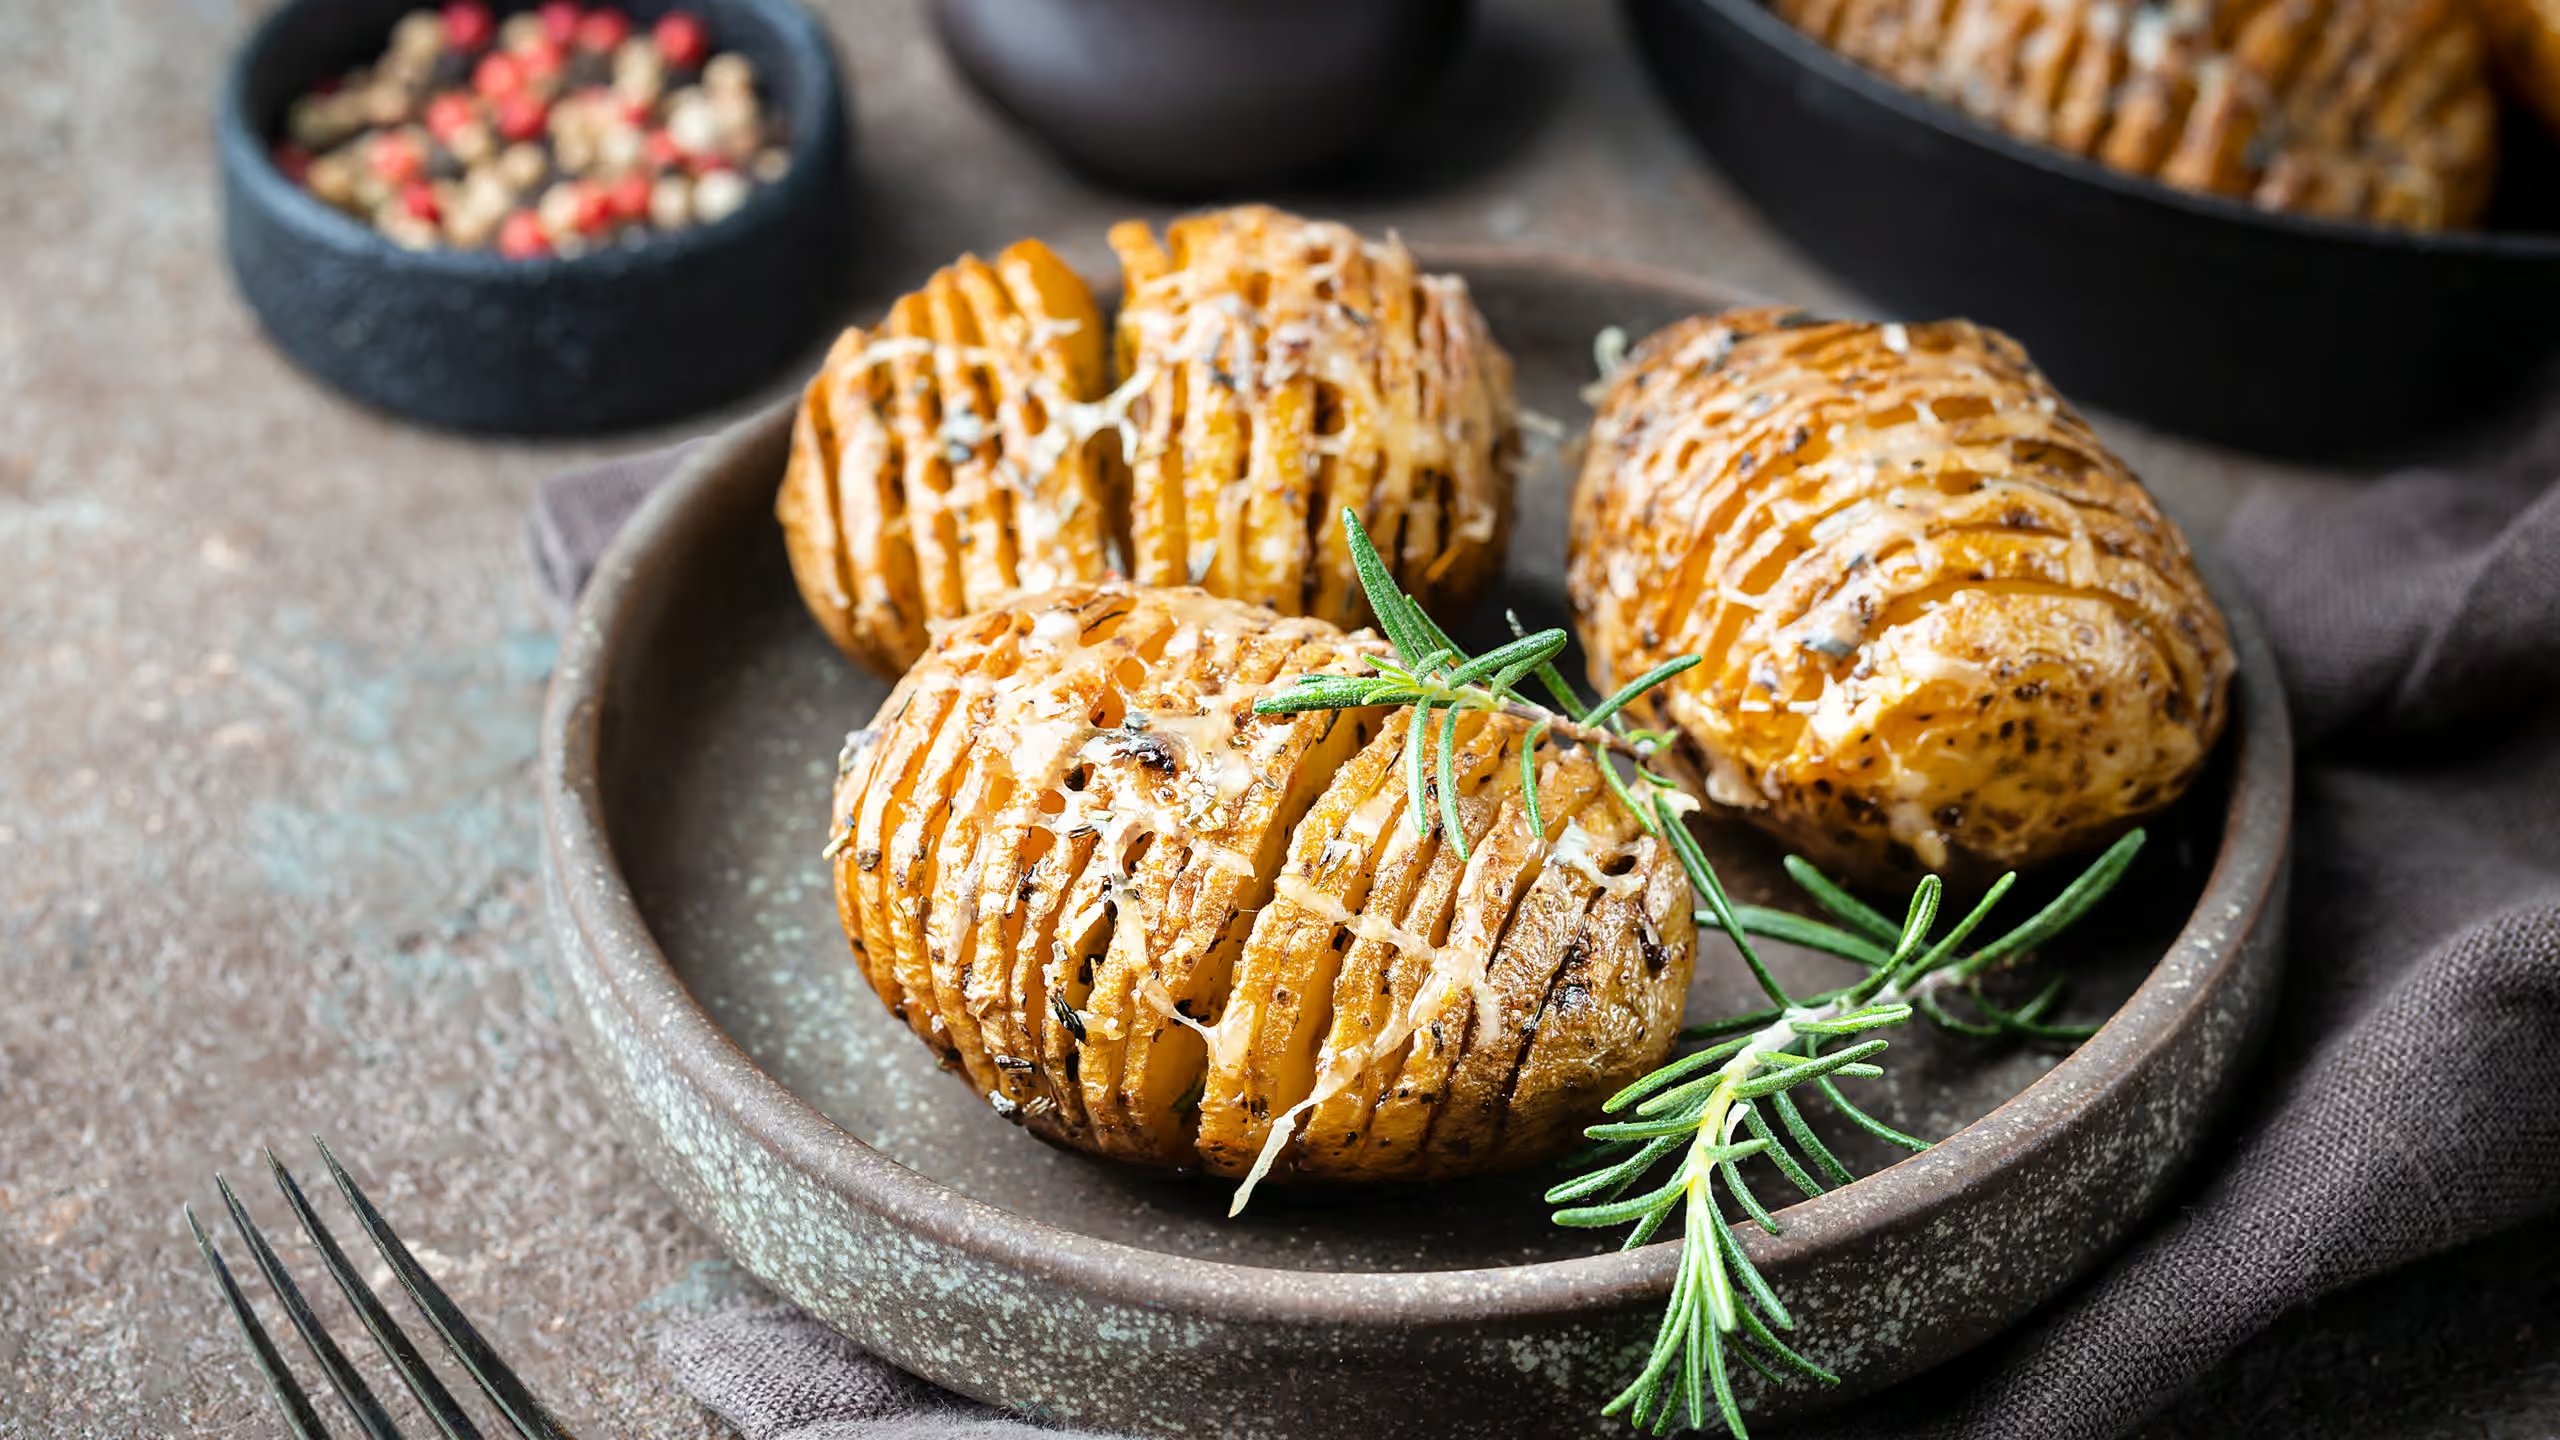
Fresh herbs – optional, but I almost never skip them. Rosemary is my go-to here, because it gets slightly crispy in the oven and adds a warm, earthy note that pairs beautifully with butter and garlic. If rosemary isn’t your thing, thyme is a lovely alternative with a more delicate, slightly floral note. Sage works well too, bringing a deeper, almost nutty warmth that pairs really nicely with potatoes.
Seasoning – salt, black pepper, and garlic powder. Yes, I specifically use garlic powder rather than fresh garlic here. Don’t get me wrong, I love fresh garlic as much as anyone, but in a long, hot roast like this it burns easily before the potatoes are done. Garlic powder, on the other hand, blends into the butter and oil, coats everything more evenly, and gives you that savory garlic depth without any bitter burnt note.
Parmesan – optional, but honestly, why wouldn’t you? Added in the last few minutes of roasting, it melts into those crispy edges and adds a salty, nutty layer that takes these over the top. Pecorino Romano can also work if you like a sharper flavor, or you can skip the cheese completely for a simpler potato side dish.
With everything prepped and ready, let’s get into the cooking – and all the tips and tricks I picked up along the way to get these just right.
How to Make Hasselback Potatoes
This section is where all that testing I mentioned in the beginning actually pays off. There’s no complicated technique here, but there are a few things I wish someone had told me before I made my first batch – so consider this your shortcut to getting them right the first time.
How to Prepare Potatoes
There are a couple of things worth doing before you even pick up a knife, and skipping them is the kind of shortcut that quietly costs you in the final result.
Start by scrubbing the potatoes well under cold water – since we’re keeping the skin on, you want it completely clean. Once they’re scrubbed, pat them thoroughly dry with paper towels. I know it feels like a minor step, but any moisture left on the surface will turn to steam in the oven instead of letting that skin crisp up the way it should – and crispy skin is half the reason we’re here.
How to Cut Hasselback Potatoes
Getting the cut right is the foundation everything else builds on, so it’s worth taking a minute to set yourself up properly. The first thing I do is cut a thin lengthwise slice off the bottom of each potato – it gives you a flat base so the potato isn’t rocking around while you try to slice it, which trust me, makes the whole thing much less stressful. And don’t throw that little slice away – it comes back into play later.
Once the base is flat, I place the potato between two chopsticks on the cutting board. They act as a physical stop so the knife can’t go all the way through no matter how distracted you get. Then just slice crosswise at ⅛ inch (3 mm) intervals until the knife hits the chopsticks each time.
If you accidentally cut a slice off completely, just press it back into place – the basting mixture will help hold it together, and the cheese at the end takes care of the rest.
And if a potato completely falls apart? Don’t panic. Just place the halves next to each other on the skillet or baking sheet, let the cheese do its job in the final few minutes, and call it rustic. It will still taste just as good – and honestly, no one at the table will care once they take a bite.
How to Fan Hasselback Potatoes
Here’s a little trick I discovered along the way that completely changed how these turn out. Instead of placing the potato directly on the skillet or baking sheet, I put that little offcut we saved earlier down first, then sit the sliced potato on top of it.
As the potato roasts, it naturally relaxes and opens up over that little piece underneath, fanning out much more dramatically than it would lying flat. And as we already know – more fanning means more crispy edges and more space for the butter and seasoning to get between the layers.
How to Get Crispy Hasselback Potatoes
Crispiness doesn’t just happen on its own – there are a few things working together to get you there. Drying the potatoes thoroughly is the first step, and I already covered why above.
The second thing is fat, and I always try to use as little as possible in my recipes – but this is the one where skimping doesn’t pay off. Those thin slice edges need enough butter and oil to coat them properly, otherwise they dry out instead of crisping up.
The third piece is basting in stages. Brushing once and walking away gives you a much flatter result – I baste at three points: first before the potatoes go into the oven, then twice more while they roast. Each time, I drag the brush across with a little pressure to work the mixture down between the slices rather than just coating the tops.
How to Check Doneness
Baked hasselback potatoes can look beautifully golden on the outside before the middle is fully tender, so I never judge them by color alone. Depending on your oven and the size of your potatoes, the timing can shift by 10 minutes either way – so the knife test is always worth doing.
What I do is slide a small knife or skewer into the thickest part of the potato, close to the bottom where it stays connected. It should go in smoothly with no resistance at all. If there’s still some firmness, give them a few more minutes – just keep an eye on those edges so they don’t get too dark.
Now that you know how to get these just right, the only thing left to figure out is what to serve alongside them – and I have a few ideas.
What to Serve with Hasselback Potatoes
These crispy hasselback potatoes work with almost anything, which is part of what I love about them – but here are the pairings I keep coming back to.
For protein, steak is the classic choice, but chicken is where I find myself most often. My chicken piccata or baked chicken drumsticks are a combination I make regularly. Teriyaki chicken and orange chicken are great options too if you want a bit more flavor contrast on the plate. Fish works surprisingly well too, especially salmon, where the lightness balances the richness of the potatoes nicely.
For a lighter or vegetarian spread, roasted vegetables are a natural match. My roasted carrots are a favorite here – they share the same high-heat method, so they can go in the oven together without any juggling. Roasted cauliflower or green beans Almondine work really well alongside too.
And while these are easy enough for a weeknight dinner, they look impressive enough for a holiday table too – I’ve served them at Christmas, Thanksgiving, and potlucks, and they perfectly fit every occasion.
Storage and Reheating Tips
The best hasselback potatoes are always straight from the oven while those edges are at their crispiest – but leftovers store and reheat well enough to still be very much worth eating the next day. Let them cool first, then store in an airtight container in the fridge for up to 3-4 days.
When it comes to reheating, I always go back to the oven – 400°F (200°C) for about 10-15 minutes on a baking sheet, and they come back to life really nicely. The microwave works in a pinch, but those crispy edges will soften and it’s just not the same.
All that’s left now is the best part – let’s get cooking.

Hasselback Potatoes
Equipment
- Knife
- Cutting Board
- 2 Chopsticks
- 12-inch Cast-iron Skillet or Large Baking Sheet
- Small Bowl
- Brush
Ingredients
- Medium Potatoes(similar in size, about 2 lb)6 pcs
- Olive Oil3 tbsp
- Unsalted Butter(melted)3 tbsp
- Fresh Rosemary(chopped, plus 2-3 small sprigs for garnish)1 tbsp
- Parmesan Cheese(finely grated, optional)⅓ cup
- Garlic Powder1 tsp
- Salt1 tsp
- Black Pepper½ tsp
Instructions
- Preheat the oven to 425°F and lightly grease a cast-iron skillet or baking sheet.
- Scrub the potatoes well, then pat them completely dry. Cut a thin lengthwise slice off the bottom of each potato so it sits flat and stable on the cutting board. Set these slices aside – you'll need them later to help the potatoes fan open.
- Place one potato, flat side down, between 2 chopsticks on a cutting board. Slice crosswise into thin cuts about ⅛ inch apart, stopping when the knife reaches the chopsticks so you do not cut all the way through. Repeat with the remaining potatoes.
- In a small bowl, stir together the olive oil, melted butter, garlic powder, salt, and black pepper until well combined.
- Place each reserved potato slice flat side down in the skillet or baking sheet, then sit a sliced potato on top of each base slice. This elevates the potato slightly, helping the slices fan open more as they roast. Brush the potatoes all over with about half of the basting mixture, making sure to get it between the slices.
- Roast the potatoes for 30 minutes, until the slices just begin to open up. Remove from the oven and baste the potatoes again with about half of the remaining mixture, pressing the brush gently between the slices to get the butter and oil down into the cuts. Return to the oven for another 30 minutes.
- Stir the chopped rosemary into the remaining basting mixture. Remove the potatoes from the oven, baste one final time with the rosemary mixture, and sprinkle with Parmesan if using. Roast for a further 10 minutes, until the edges are deep golden brown, the centers are tender, and the cheese is lightly crisped.
- Taste and adjust seasoning with a little extra salt or black pepper if needed. Garnish with small rosemary sprigs if desired. Serve immediately while the edges are at their crispiest.
Notes
- Choose medium potatoes that are similar in size so they bake evenly – and if you’re unsure which variety works best, I cover that in detail in the post above.
- Dry the potatoes thoroughly before slicing – any surface moisture will work against you when it comes to getting those edges crispy.
- If you accidentally slice a piece off completely, just press it back where it was – the basting mixture will help it stick, and once cheese melts over the top, everything holds together perfectly.
- If a potato splits in half, just sit the two pieces side by side on the skillet or baking sheet and let the cheese hold them together in the final few minutes. It will still be just as delicious.
- Parmesan is optional but highly recommended – it melts into the crispy edges and adds a salty, nutty depth that’s worth every extra minute in the oven.
- If the tops look golden but the center still feels firm, give them another 5-10 minutes and check again with a skewer or thin knife.
Nutrition Information
Serving Size: 170 g
| PER SERVING | AVG. QTY* | %DV** |
|---|---|---|
| Calories | 224 kcal | 11% |
| Protein | 5.3 g | 11% |
| Fat | 9.8 g | 15% |
| Saturated | 3.9 g | 20% |
| Unsaturated | 5.9 g | 15% |
| Carbohydrate | 29.9 g | 10% |
| Dietary Fiber | 3.6 g | 14% |
| Sugars | 1.4 g | 2% |
| Sodium | 479 mg | 21% |
| Cholesterol | 13 mg | 4% |
* Nutritional values are approximate and provided for general guidance only. Actual values may vary depending on ingredients and exact quantities used.
** Percent Daily Values are calculated based on a standard 2,000-calorie daily diet. Individual nutritional needs may differ depending on personal calorie requirements.
Share with Friends
Good food is better when shared. It also helps us create more recipes for you.
Frequently Asked Questions
How to make hasselback potatoes?
Hasselback potatoes are made by slicing each potato into thin layers almost all the way through, then roasting at 425°F (220°C) with a butter and oil basting mixture.
How to cut hasselback potatoes?
To cut hasselback potatoes, place each potato between two chopsticks – they stop the knife from cutting all the way through. Slice crosswise at ⅛ inch (3 mm) intervals.
What are hasselback potatoes?
Hasselback potatoes are baked potatoes sliced almost through into thin layers that fan open in the oven, giving you crispy edges and a fluffy center all at once.
What to serve with hasselback potatoes?
Hasselback potatoes pair well with most proteins – steak, roasted chicken, or salmon are all great choices. They also work beautifully alongside roasted vegetables for a lighter meal.
How long to cook hasselback potatoes?
Hasselback potatoes take about 1 hour 10 minutes at 425°F (220°C), timing depends on the size of spuds. They’re done when the centers are tender and edges are crisp.